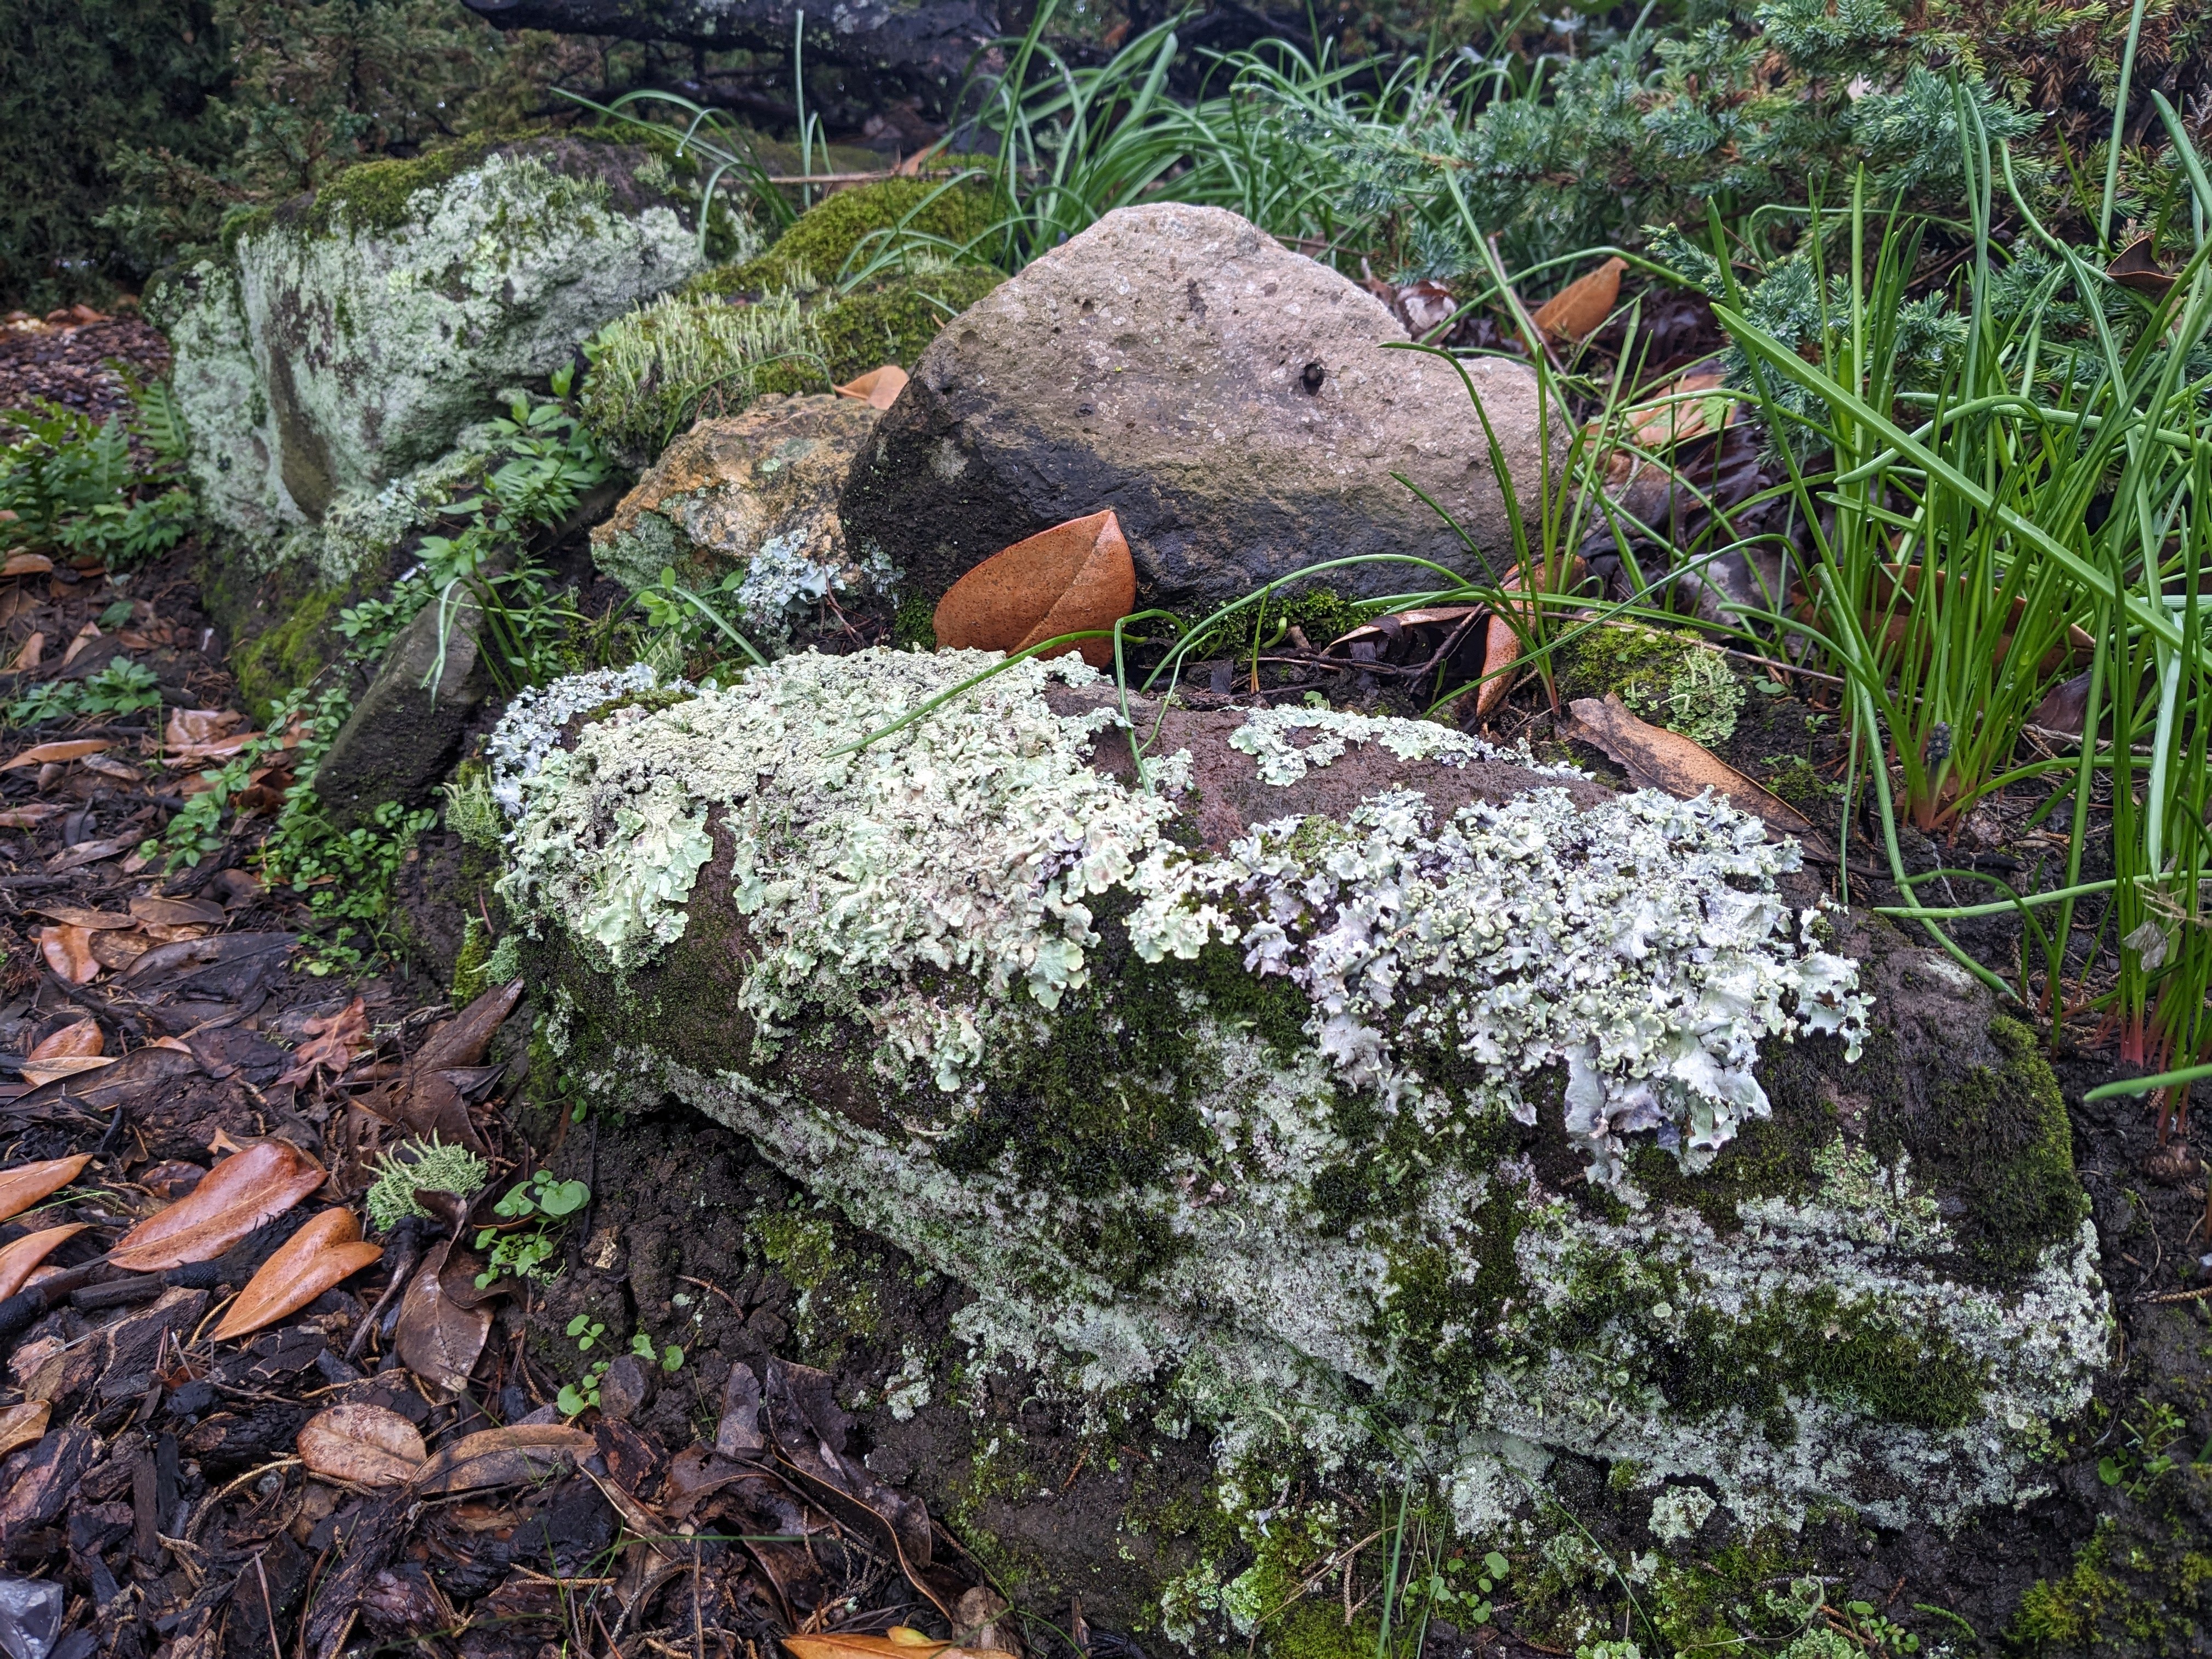
For this project, I'm dyeing with lichen. Lichens are comprised of both fungi and algae living together as symbiotic biological entities. Lichens can produce brilliant dyes—in shades of yellow, orange, ochre, russet, brown, copper, bronze, olive, true green, pink, mauve, violet, red, rose, magenta, purple, and blues—depending on the fiber and dye method used. Three dye methods include fermenting in ammonia, boiling in water, and photo-oxidizing.
I'm using Lace Lichen, also known as Fishnet Lichen (Ramalina menziesii), the official state lichen of California. I plan to use the lichen and ammonia dye bath that I have been fermenting over the last four months and a protein-based silk scarf. I'm not sure what to expect—the dye may produce shades of olive-yellow to pale tan to buff tones, or shades of purple or pink.
 |
| Lace Lichen growing on a tree in Mendocino, California |
Key Supplies
I'm using my usual dye equipment, including a convection burner, a non-reactive stainless steel dye pot, candy thermometer, strainer, cheese cloth, various plastic pails and containers for soaking and rinsing, a digital kitchen scale, stir stick, a mild pH-neutral soap (such as Synthropol or Professional Textile Detergent), rubber gloves, and a face mask. Additional supplies and equipment:
- Lichen: Lace Lichen, also known as Fishnet Lichen (Ramalina menziesii). I collected the lichen on our trip to Mendocino in the spring.
 |
| Lichen downfall after a big wind in Mendocino |
- Glass jars with secure lids: for fermenting. I used two 4-cup jars. The lid for one of my jars was not very secure, so I lost a little of the dye liquid over time as I agitated the jar. The loss wasn't enough to transfer it to a new jar, but I'll make sure the lids are more secure in the next project.
- Ammonia: combine equal parts of clear ammonia and water (1:1 ratio) to create the fermentation bath.
- pH test strips: to test how alkaline or acidic the dye bath is.
- Fabric: 100% protein fibers like wool or silk (as with dyeing with mushrooms, protein fibers respond better to lichen than cellulose fibers). I'm using a silk scarf from Dharma Trading, which has been scoured and mordanted with alum. For details, see Dye Project: Preparing Protein Fabric (Scour & Mordant). The scarf weighs 1 ounce or 28 grams. Note that you do not need to mordant fabric or fiber when dyeing with lichen, since lichens produce light and colorfast dyes.
- pH Modifiers: I hadn't planned to use any additional modifiers for this project, other than the scarf that is pre-mordanted with alum. I wanted to try the basics first. But I did end up adding a modifier to make the dye bath more acidic, and change the color outcome. See below!
Collecting the Lichen
Lichen is very slow-growing, so it should be collected responsibly. It is typically considered ethical to gather lichen that has been dislodged from its habitat, unless other restrictions apply. Only collect lichen that has fallen naturally from trees or rocks to protect the ecosystem, and only collect what you need.
I collected the lichen while on our trip to Mendocino, California in March. A big wind caused lichen downfall from the trees, so I was able to collect quite a bit from various locations. See Field Notes for March 2026, the March 9 entry.
 |
| Lace Lichen gathered from multiple sites in Mendocino |
Fermenting the Dye
Fermentation extracts the color pigment from the lichen over a 3-16 week period. Ammonia fermentation is best for lichen that produces purples or pinks. According to Zoe McDonnel from Wildcraft Dyeing, you can test whether your lichen produces purples or pinks by dropping a few drops of bleach on it; if it turns purple or pink, fermentation is the best technique to use. I tested the Lace Lichen with a few drops of bleach but got no reaction. I'm going to use the fermentation method anyway, but am not sure what color will be produced. Possibly shades of olive-yellow to pale tan or buff tones with protein fibers like wool and silk.
Before you start, clean off any dirt or twigs from the lichen to ensure that they don't influence the dye color. Then, prepare the dye vat. Place the dried, crumbled lichen in a jar, filling it roughly half-full. I filled two 4-cup jars half-full with the clean lichen. Cover the lichen with a 50/50 mixture of water and household ammonia.
 |
| Lace Lichen fermenting in ammonia and water |
Seal the jar and store in a warm place for 3–16 weeks. I started the fermenting process in mid-April (see Field Notes for April 2026, the April 22 entry) and used the kitchen window sill. Aerate by shaking the jar daily and opening weekly to introduce oxygen, which is essential for color development. The dye liquor turned a red-brown color within a couple of weeks and stayed that way for four months. Research indicated that it should turn to a deep magenta at some point, but that wasn't my experience. I ended the fermentation process in mid-August, after four months. The pH registered 11 (strongly alkaline).
 |
| Agitate the jar once daily, and aerate once weekly |
 |
| I can see tinges of red, but the overall color is brown |
Strain out the lichen solids from the fermented dye. I strained the lichen out of one of the jars, and obtained two cups (1/2 quart). The dye is definitely a brown color.
 |
| Straining the lace lichen dye liquor |
Dyeing the Fabric (Alkaline)
Dyeing fabric with lichen is very similar to dyeing with plants or mushrooms. Bring the dye bath to a simmer, pre-soak the silk or wool fabric or fiber in warm water, add the fabric to the dye pot, and simmer. One caveat is to make sure the temperature is very similar when going from one pot to another. For example, plunging cold silk into a hot dye bath causes shock shrinkage, uneven color, and weakened fibers. Better to add the cold silk to a cooled dye bath, or warm silk to a warm dye bath.
As with mushrooms, delayed rinsing improves color and light fastness. Casselman recommends that with lichen-dyed fibers, it is essential to cool the yarn before rinsing. Lichen-dyed fibers are more color and light fast if they are not rinsed for at least 24 hours; this stabilizes the dye and prevents after-dye runoff. She describes her technique for delaying rinsing in Lichen Dyes: The New Source Book (Dye Bath, page 27):
... first leave the fiber in the ammonia or boiled water dye bath to cool for 24 hours. Then, remove the fiber, place it in a colander over a pail and leave it another 24 hours. (What you collect can be reused.) After two days, rinse the fiber (which may be completely dry) in cold water. Even with dark colors, there will be very little dye run off, and your reward is improved fastness.
 |
| Strained lace lichen liquor (brown, but with a slight tinge of red |
To prepare the dye bath, place the strained dye in a clean non-reactive pot. Casselman's recommendation is to add 1 cup of the dye liquor and 4 quarts of water to the pot, for one ounce of fiber. For more more intense color, use less fiber or more dye liquor. To obtain pastels, use more fiber or less dye liquor. I used just over two cups of dye liquor and 4 quarts of water to the pot (hoping to intensify whatever color I end up with)!
Casselman also recommends adding 1/2 cup (125 ml) salt to the dye bath. I haven't seen the instruction to add salt in any other source, so decided not to try it with this batch. If the idea is to use the salt as a mordant to enhance color and light fastness, my silk was pre-mordanted in alum, so should be fine without the salt.
 |
| The dye liquor has a brown-red cast to it |
Bring the temperature of the dye bath to 150 to 180 °F. This typically takes about 30-60 minutes. I followed Casselman's recommendation to bring the temperature to a maximum of 180 °F (82 °C), and maintain the temperature for 10 minutes. Then, reduce the temperature to 160 °F (70 °C) and continue to heat gently for 1 hour, without boiling. While the dye bath is coming to temperature, pre-soak your wool or silk in warm water. This improves how the fabric takes up the dye.
 |
| Pre-soak the silk scarf in warm water |
Add the fabric to the simmering dye pot and stir to distribute evenly. Add more water to cover the fabric if necessary. This will not dilute the dye; it just ensures better distribution of the dye to the fabric. Let simmer for about an hour, keeping the temperature between 150 to 180 °F. I tried to keep it at 160 °F.
 |
| Distribute the fabric in dye and simmer for an hour |
Remove the dye pot from the heat, and use the delayed rinsing technique recommended by Casselman in Lichen Dyes: The New Source Book. Leave the fiber in the ammonia dye bath to cool for 24 hours. Then, remove the fiber, place it in a colander over a pail and leave it another 24 hours. (Any dye you collect can be reused.)
 |
| Letting the dye set (lace lichen alkaline dye bath) |
After two days, rinse the fiber (which may be completely dry) in cold water. I ran the fabric through the washing machine to rinse, using cold water and no detergent. Hang to dry. The resulting color is a rather disappointing buff or beige. Two weeks later, wash with a mild pH-neutral soap, such as Synthropol or Professional Textile Detergent, to wash out unbound dye. Air dry out of direct sunlight. The resulting color is beige or buff.
Dyeing the Fabric (Acidic)
As mentioned above, the dye results using the lace lichen alkaline bath were disappointing (especially after all the months spent fermenting the dye bath)! This inspired me to use the rest of the dye liquor in a separate experiment, by changing the pH from alkaline to to acid [from pH 11 (strongly alkaline) to pH 4 (moderately acid)].
I basically followed all the steps described above in "Dyeing the Fabric (Alkaline)", but altered the dye bath by adding the second jar of lace lichen dye liquor and 1 3/4 cups of white household vinegar to the dye bath. The pH registered 4 (moderately acid). Per Dorothy BeeBee in "How to Make a Natural Dye Using Lichens", Myra Made Color (June 4, 2022), when the dye bath registers pH 4, the acid releases pigment. It's unclear whether this is a universal principal or just true for Wolf Lichen.
 |
| The lace lichen acidic version already looks darker and more interesting |
 |
| Letting the dye set (lace lichen acid dye bath) |
After two days, rinse the fiber (which may be completely dry) in cold water. I ran the fabric through the washing machine to rinse, using cold water and no detergent. Hang to dry. The resulting color is golden brown. Two weeks later, wash with a mild pH-neutral soap, such as Synthropol or Professional Textile Detergent, to wash out unbound dye. Air dry out of direct sunlight. The resulting color is a golden brown (it looks closer to an orange in the photo, possibly because the picture was taken in the late afternoon, during golden hour).
The Results
The final results of dyeing with lace lichen included a buff or beige color for the alkaline bath (which actually has a richer tone in person than in the photo); and an interesting and complex golden brown color for the acidic bath. You can see that the color is not quite as "orange".
 |
| Left: lace lichen (fermented, alkaline dye bath) Right: lace lichen (fermented, acidic dye bath) |
I decided to store the unused acidic dye liquor for future dyeing experiments.
 |
| Store the dye for future projects |
Note that I had been very disappointed to get such bland results with the fermented alkaline dye bath, but it was also exciting to change the pH of the dye bath and obtain different results with the fermented acid dye bath. This is what makes dyeing with plants, mushrooms, and now lichen, so exciting. It is an ongoing experiment and adventure!
Learn More
- Byrd, Margaret. "How to Make Natural Dyes with Lichen". Color Quest, December 9, 2022. Good overview, which includes information about the fermentation and boiling water methods, as well as a photo-oxidization method (color emerges when fiber is removed from the ammonia dye bath, similar to how indigo dye turns from green to blue when fabric is removed from the dye bat and is exposed to oxygen). https://www.youtube.com/watch?v=VaYI7U7ZHEU
- Casselman, Karen Diadick. Lichen Dyes: The New Source Book (Dover Publications, 2001). Second edition of the original, published by Studio Vista Publications, 1996. This slim book is packed with information (see Lichen Dyes: The New Source Book).
- "How to Make a Natural Dye Using Lichens". Myra Made Color (June 4, 2022). Myra uses Wolf lichen (Letharia vulpina) to dye 100% wool with no mordant, using the water boiling dye process. BeeBee made an interesting comment that when the dye bath registers pH 4, the acid releases pigment. I'm not sure if this is a universal principal or just true for Wolf lichen, but worth exploring. https://youtu.be/RUUeAX4D1uE
- McDonnel, Zoe. "Introduction to Dyeing with Lichens", Wildcraft Dyeing (June 28, 2021). Describes what you need to know to get started natural dyeing with lichens. McDonnel discusses two types of dyeing (boiled water method and ammonia method). https://www.youtube.com/watch?v=B8KfXIIUB_M
- Ramalina menziesii. Wikipedia: https://en.wikipedia.org/wiki/Ramalina_menziesii